Custom Fields
Store the contact data your business needs that RateUp does not have by default — field types, Field IDs, visibility and importing values.
Custom fields extend the contact record with data specific to your business — a membership number, a vehicle registration, a preferred branch.
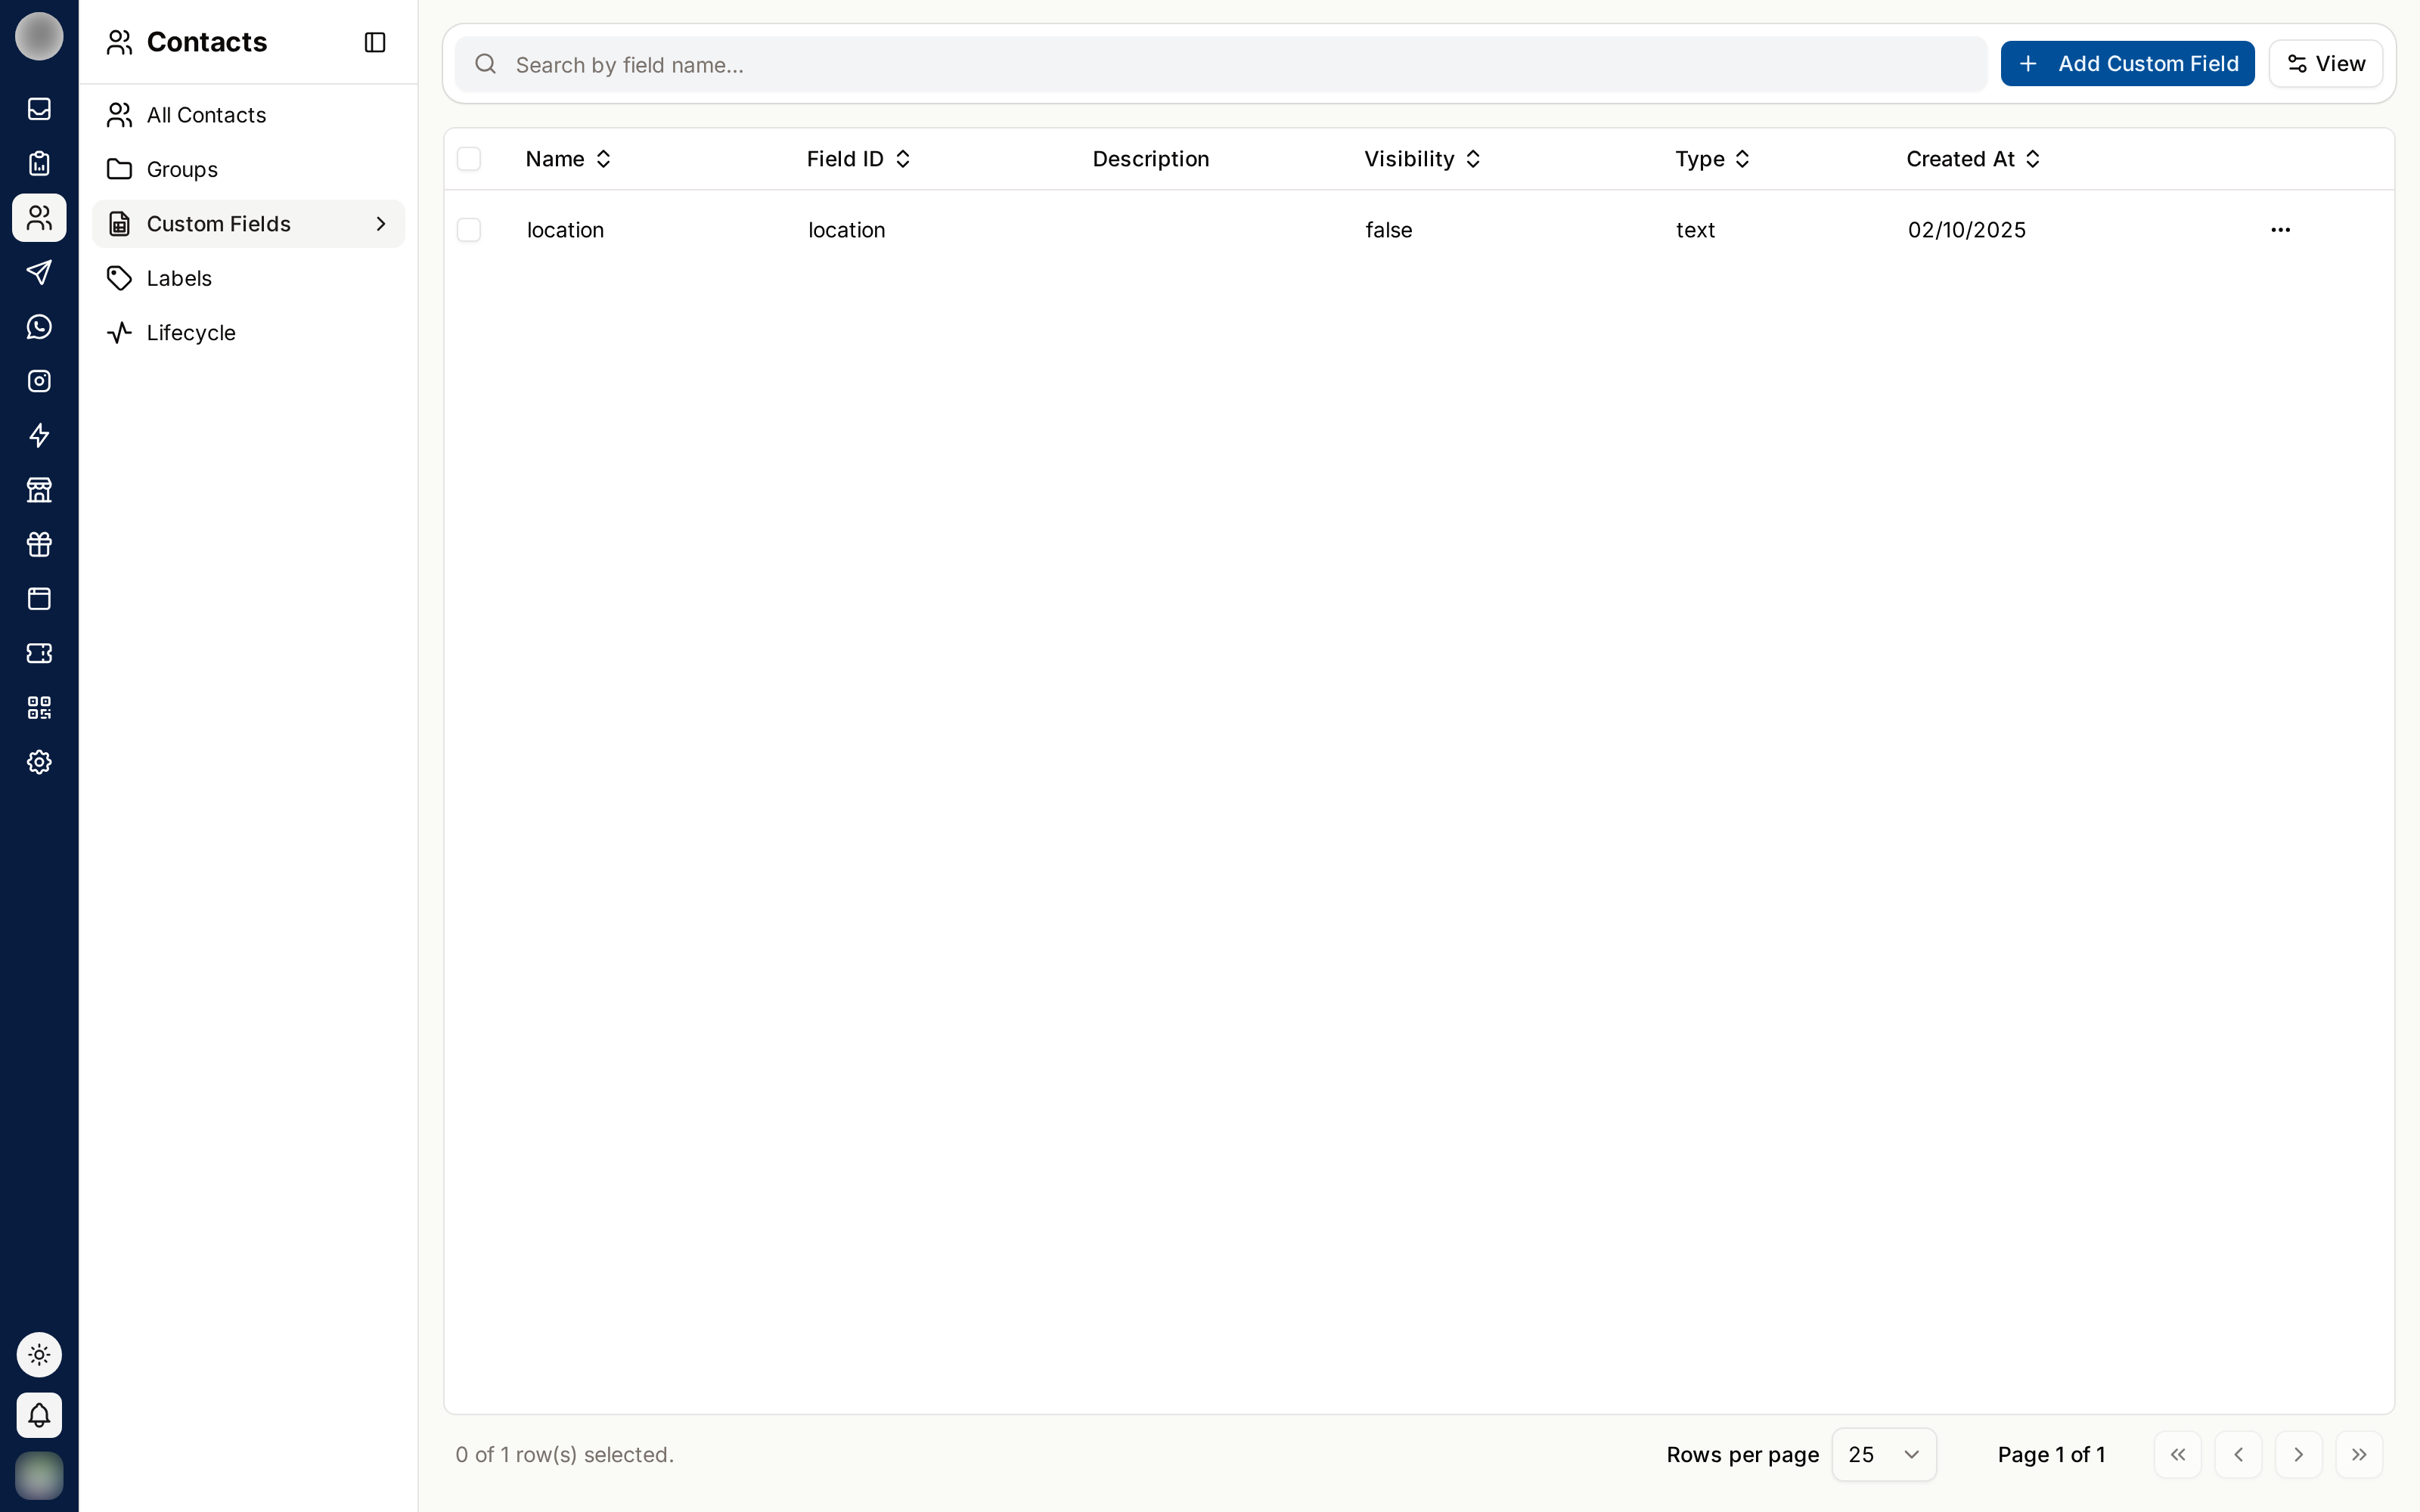
The Custom Fields page lists each field's Name, Field ID, Description, Visibility, Type and Created At. Use Search by field name... to find one.
Create a Field
Click Add Custom Field.
Enter a Name — this is what your team sees on every contact.
Check the Field ID. It is filled in from the name as you type — Membership Number becomes
membership_number — and you can change it now.
Choose the Type — see below. For Multi-value, type each option under Input Values and press Enter after each.
Leave Visibility on unless the field is for internal use only — see below.
Optionally add a Description, then click Create Custom Field.
The Field ID cannot be changed once the field is created. It is the column heading your import files must use, so choose it carefully.
Field Types
| Type | Entered as | Checked for |
|---|---|---|
| Text | Free text | — |
| Number | A number | "Must be a valid number" |
| An email address | "Invalid email format." | |
| Multi-value | One choice from a dropdown of the Input Values you defined | — |
Visibility
Visibility controls whether the field shows in a contact's details dialog. A hidden field still exists, still holds its values, and can still be filled in on the Add / Edit Contact form and by import — it is simply left out of the details view.
Where Custom Fields Appear
| Place | Use |
|---|---|
| Add / Edit Contact | Every field gets its own input, of its type |
| Contact details | Visible fields with a value, under Custom fields |
| Contacts table | One column per field — switch it on from the View menu |
| Import | Tick the field in the import dialog, and head its column with the Field ID |
| Export | Show its column in the table before exporting |
Custom fields are not shown in the Inbox, and the contacts list cannot be filtered by them. If your agents need to see a trait while replying, or you want to filter on it, use a label.
Fill In Values in Bulk
Export your contacts, or build a sheet with name and phone columns.
Add a column for each custom field, headed with its Field ID exactly.
Import it with Update the existing data while importing on, and the fields ticked under Custom Fields. Blank cells leave existing values alone.
Edit or Delete a Field
Open the row's ⋮ menu:
- Edit — change the name, type, values, visibility or description, then Update Custom Field. The Field ID stays fixed
- Delete — asks you to confirm. It cannot be undone, and every value stored in the field goes with it
Custom Fields vs Labels
| Custom fields | Labels | |
|---|---|---|
| Store | A value — a number, an email, text, a choice | A yes/no trait |
| Example | Membership number: 4471 | VIP |
| Visible in the Inbox | No | Yes |
| Filter the contacts list | No | Yes |
If the answer is "yes or no", use a label. If the answer is "which one" or "how much", use a custom field.
Designing Fields Well
Every field you add is a field someone has to fill in. Fields that are half-populated are worse than no field, because nobody trusts them.
- Add a field only when you know what you will do with the data
- Name it so its meaning is obvious to someone who joined last week
- Populate existing contacts by import rather than by hand
- Review yearly and remove fields nobody fills in
Related Pages
- Managing Contacts — importing values in bulk
- Labels