Teams
Group members into teams, control which features each team can use, and route work by team.
Teams organises members into groups and controls what each group can reach. It is the main tool for routing work and for limiting access without editing every user one by one.
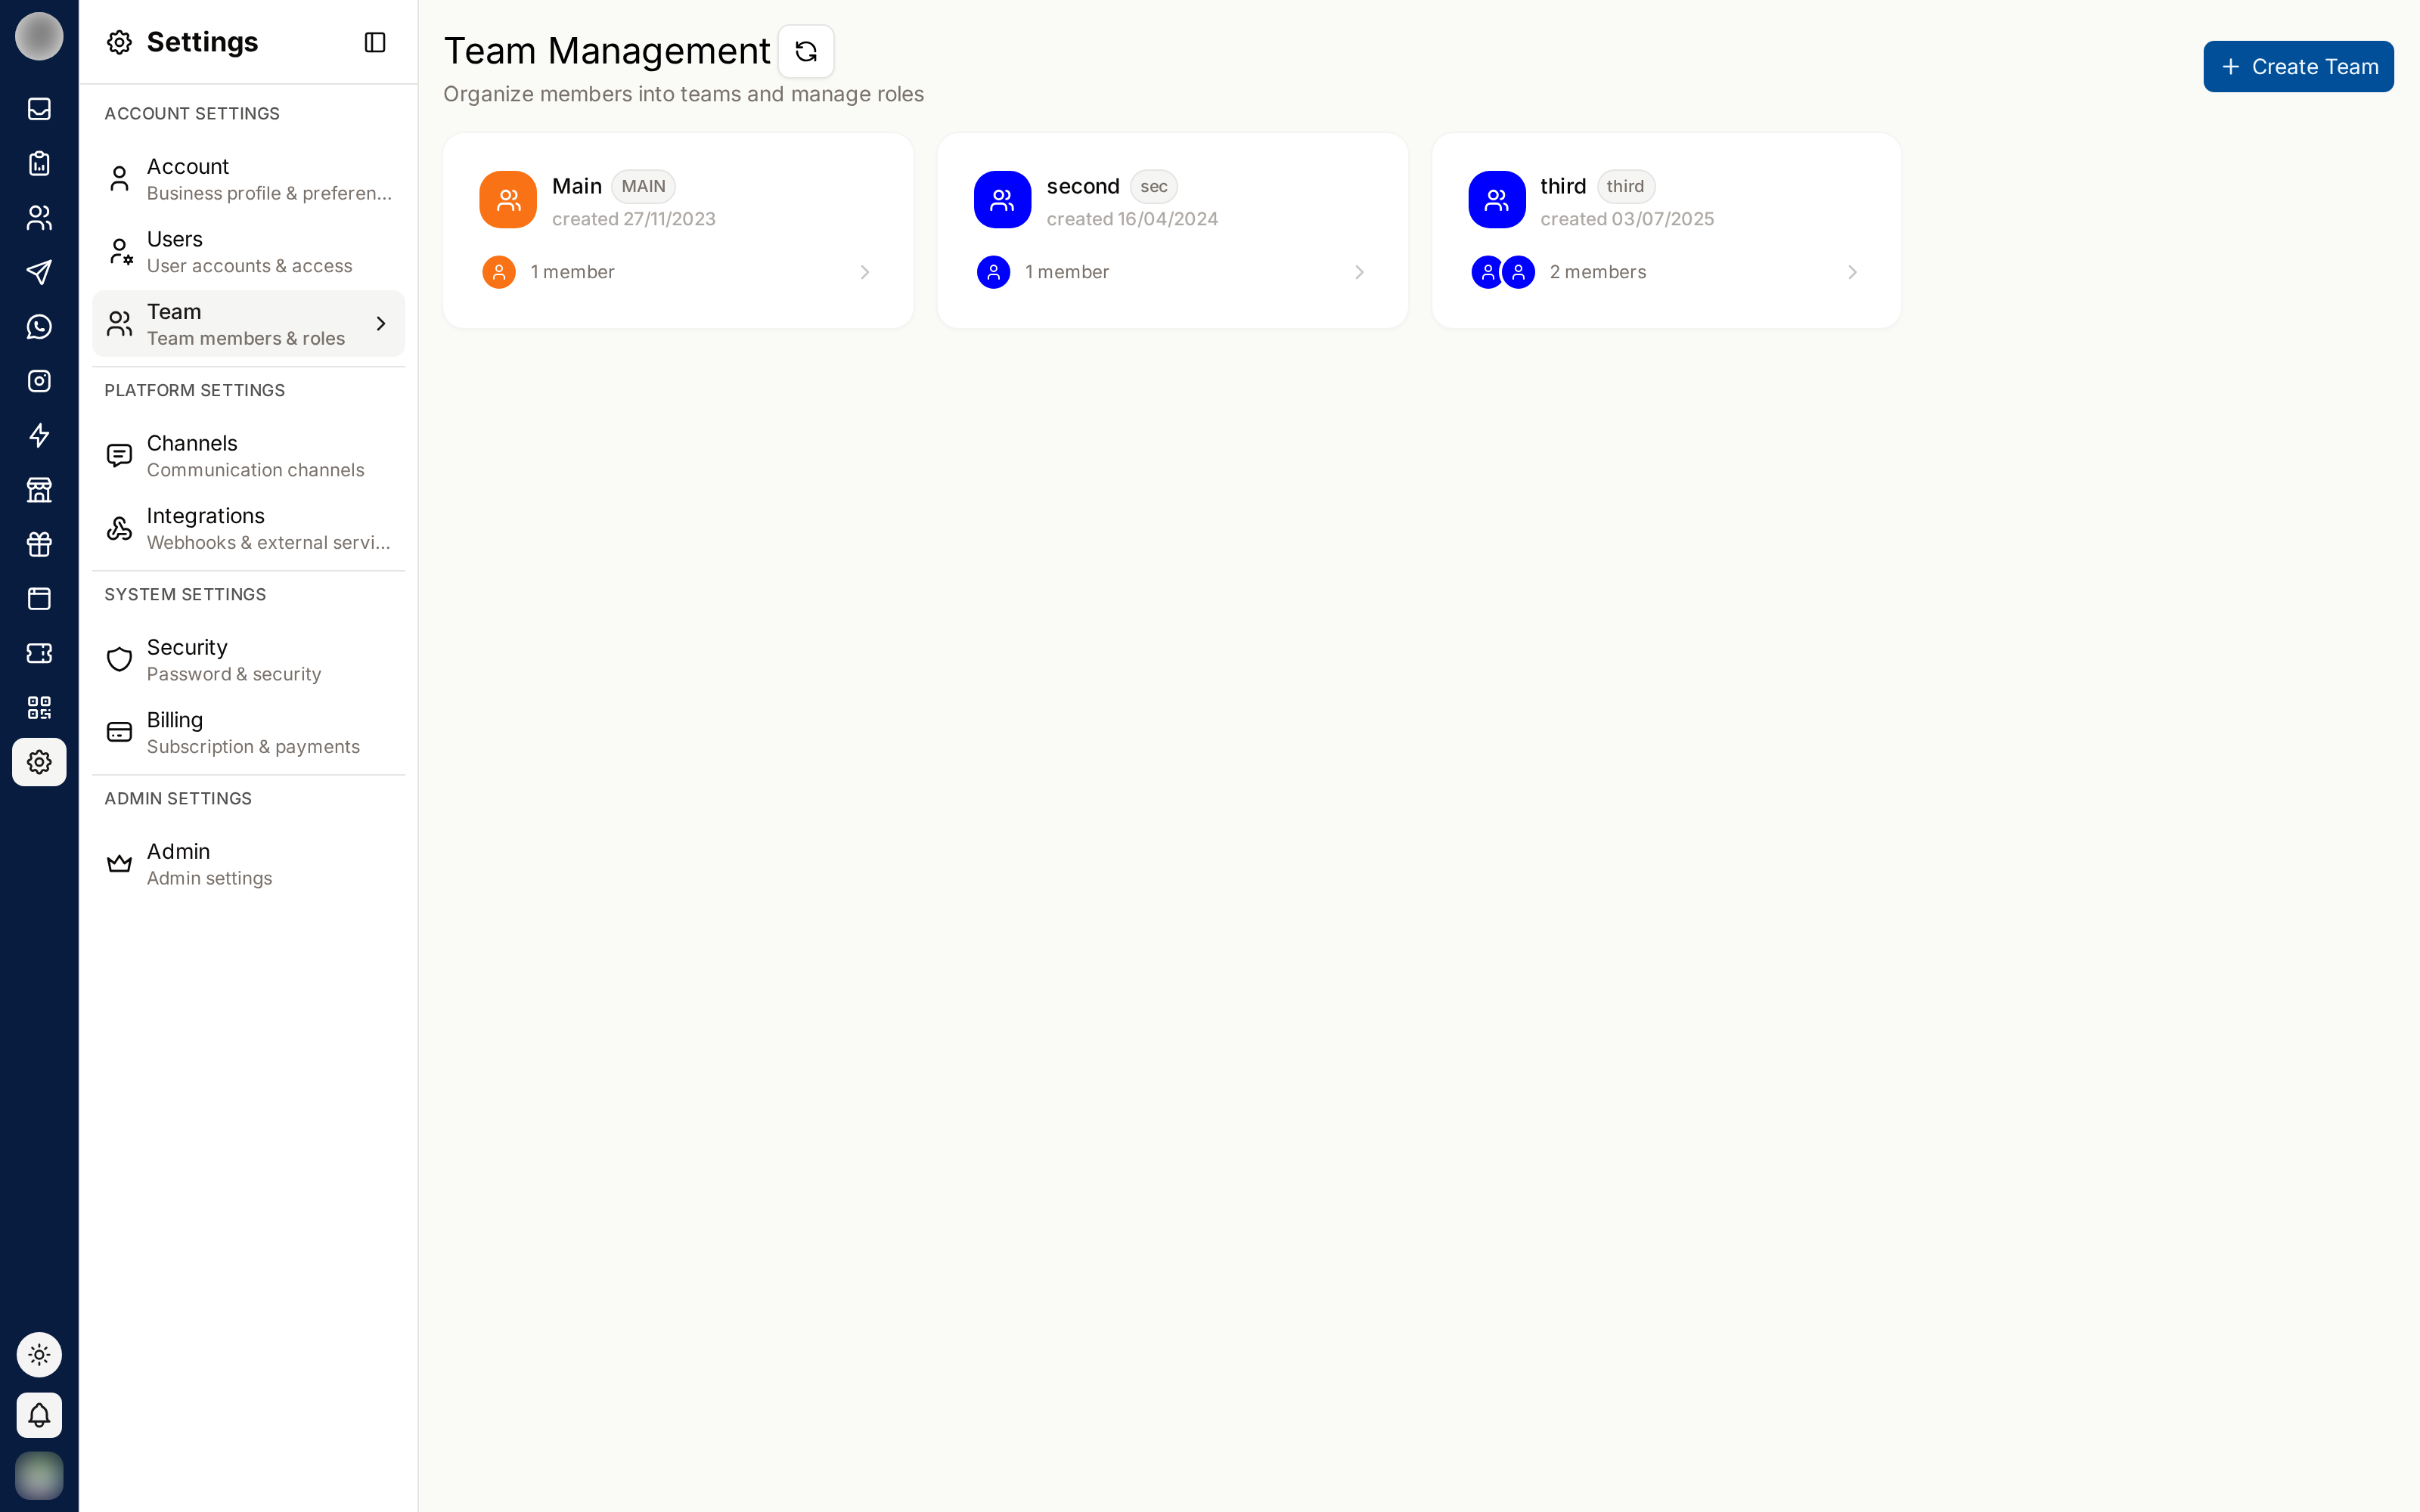
Creating a Team
Click Create Team.
Enter a team name. Spaces are not allowed — use a single word or hyphenate.
Pick a team colour. It identifies the team at a glance across the dashboard.
Set feature access for the team — see below.
Click Create.
Each team gets a team code, used when referring to the team elsewhere in RateUp.
Feature Access
This is the important part. Each team is granted or denied access to RateUp's features:
| Feature | Controls |
|---|---|
| Inbox | The shared conversation inbox |
| Analytics | Reports and performance data |
| Contacts | The contact database |
| Campaigns | Bulk template sends |
| Flows | WhatsApp flows |
| Chatbots | Automated chat bots |
| Templates | WhatsApp message templates |
| Automation | Automation rules |
| Loyalty | The loyalty programme |
| Web Forms | Surveys and forms |
| Pipeline | The lead pipeline board |
| QR Studio | QR codes and access links |
| Apps & Services | Integrations |
| Settings | Organisation settings |
Use Enable All or Disable All to set the whole list quickly, then adjust.
Feature access decides what appears in the sidebar. A member of a team without Loyalty simply does not see Loyalty — it is hidden, not greyed out.
Channel Access
Under Feature Access, on the same tab, sits Channel Access — "Choose which channels this team can see." It decides which of your WhatsApp numbers, Instagram accounts and Facebook pages the team's conversations come from.
Open the team and go to Feature Access.
Leave All channels on to give the team everything — including any channel you connect in future.
Or switch All channels off, then turn on the individual channels this team should see. Each is labelled with its name and a platform badge.
Click Save Changes.
Switching All channels off and selecting nothing shows "No channels selected — members of this team will not see any channel." Their Inbox will be empty. Either pick a channel or turn All channels back on.
How the scope is worked out
| Situation | What the person sees |
|---|---|
| In several teams | The union of every team's channels — being in a team can only widen access |
| In one team with All channels on | Every channel |
| In no team at all | Every channel — scoping is opt-in per team |
| Organisation owner | Every channel, always |
Channel access controls what the dashboard shows. It is not an API permission boundary: the External API key is organisation-wide and is not scoped by team.
Saving a channel selection takes effect straight away. Adding or removing a member can take up to a minute to change what they see — if a new team member still has the old view, wait, then refresh.
Connecting channels → · Filtering by channel in the Inbox →
Members
Add members to a team from the team's detail page, or assign a team when creating a user.
A person can belong to more than one team, and sees the combined access of all of them.
Why Teams Matter for the Inbox
Teams are how work is routed without naming individuals:
- A ticket assigned to a team is available to every member of it
- The Inbox's team filter narrows any view to one team's work
- Channel Access decides which conversations reach the team in the first place
- Team-based routing survives people being on leave; individual routing does not
Designing Your Teams
| Approach | Works when |
|---|---|
| By function — Support, Sales, Billing | Different skills handle different questions |
| By language or region | You serve several markets |
| By shift | You run extended hours |
Avoid one team per person — that is what user permissions are for, and it makes routing brittle.