Assignment & Reassignment
Give every ticket an owner — assign to yourself, a colleague or a team, and hand work over cleanly.
Assignment decides who is responsible for a ticket. It is not optional bookkeeping: a ticket with no owner cannot be replied to.
Why Assignment Is Required
The composer stays locked until a ticket has an owner. This prevents the two failure modes every shared inbox suffers from:
- Duplicate replies — two agents answering the same customer minutes apart
- Silent drops — everyone assuming somebody else picked it up
An unassigned ticket is visible to everyone but owned by nobody. It carries a New status pill until that changes, and while it is recent it also sits in the New view with an amber edge.
The Three Ways to Assign
| Route | Best for | Where |
|---|---|---|
| Quick assign | Taking a ticket without reading it first | The person + button on a list row (Assign to me) |
| Assign bar | Taking a ticket you have just read | Above the composer in an unassigned ticket |
| Ticket Details | Assigning to someone else, or reassigning | Panel → Assignment → Change |
| Bulk assign | Handing many tickets to one person | Selection mode → Assign selected chats |
Assign a Ticket to Yourself
Open the New view — or find any row with an amber left edge.
Click the person + button on the right of the row.
Alternatively, open the ticket and click Assign to me above the composer.
The status pill turns to Assigned, the ticket moves to your Mine view, and the composer unlocks.
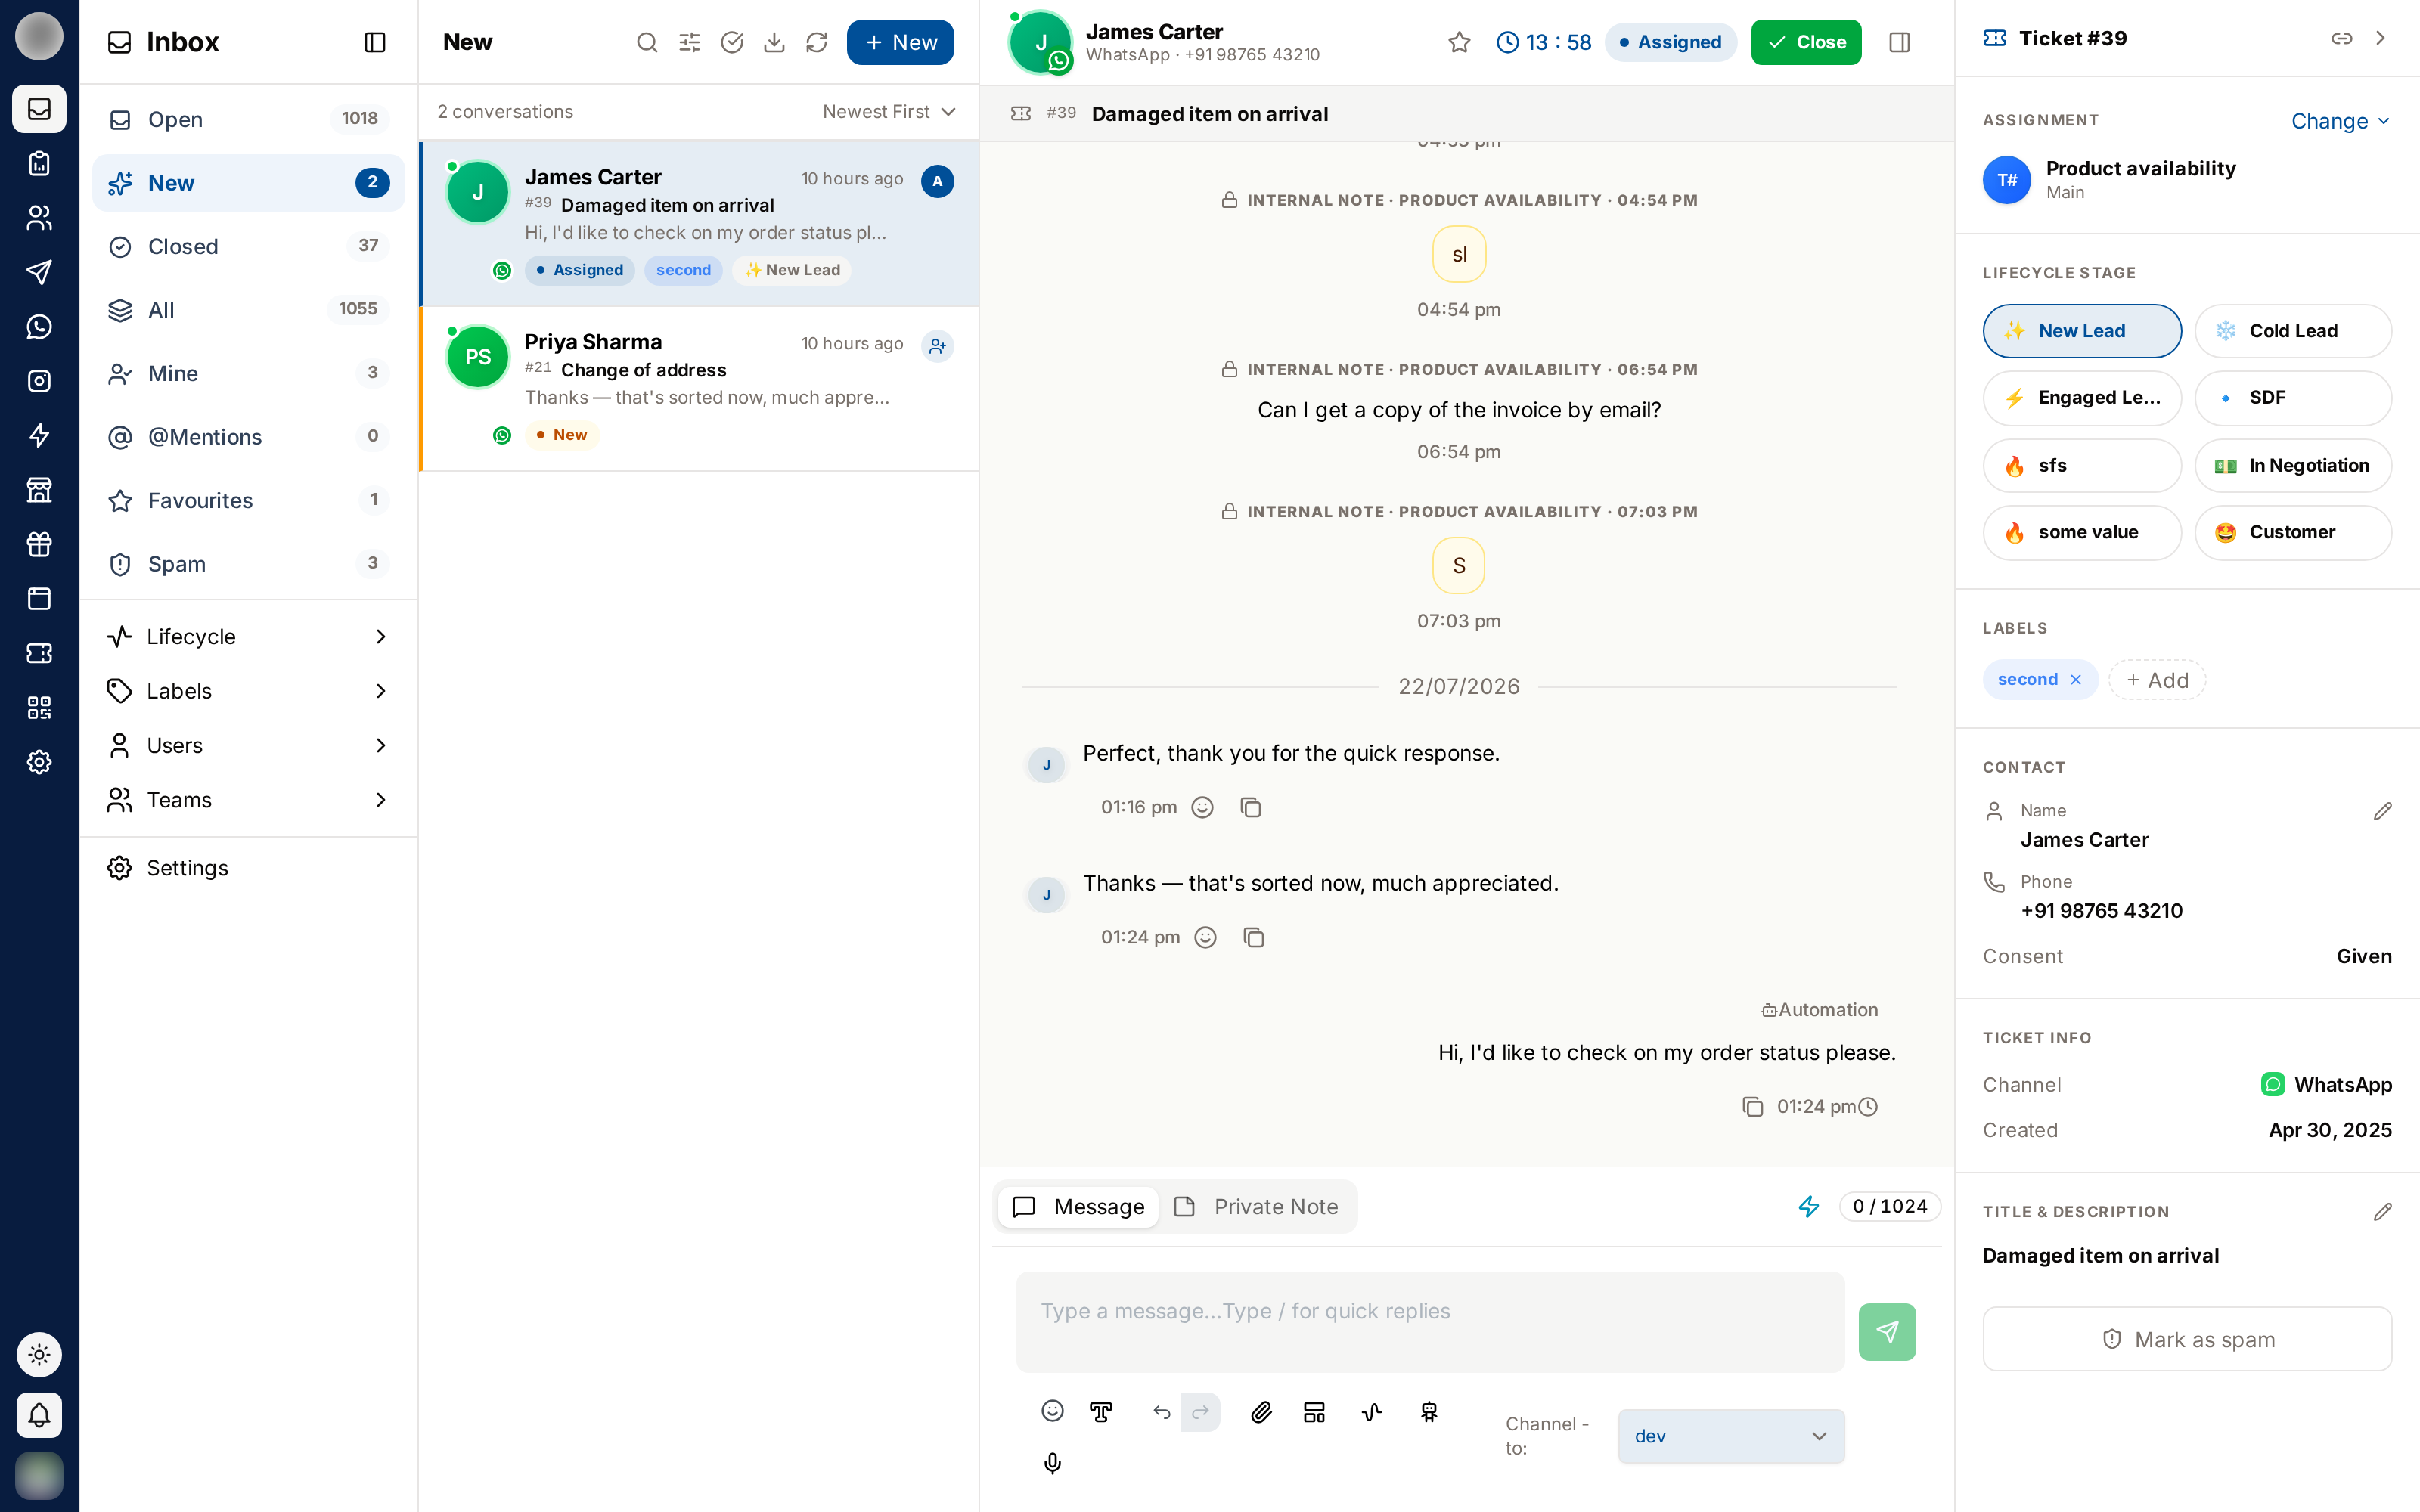
A system note is added to the thread recording who took the ticket, so ownership history is always visible.
Assign to a Colleague or Team
Open the ticket.
Click Assign next to Assign to me in the bar above the composer, or open Ticket Details and click Change under Assignment.
The picker, "Assign to team or individual", lists your teams. Click a team to expand it.
Click people to tick or untick them. Each shows Online or Offline, and you are marked ( You ).
Close the picker. The change saves by itself about half a second after your last click, with no Save button, and a system note records it.
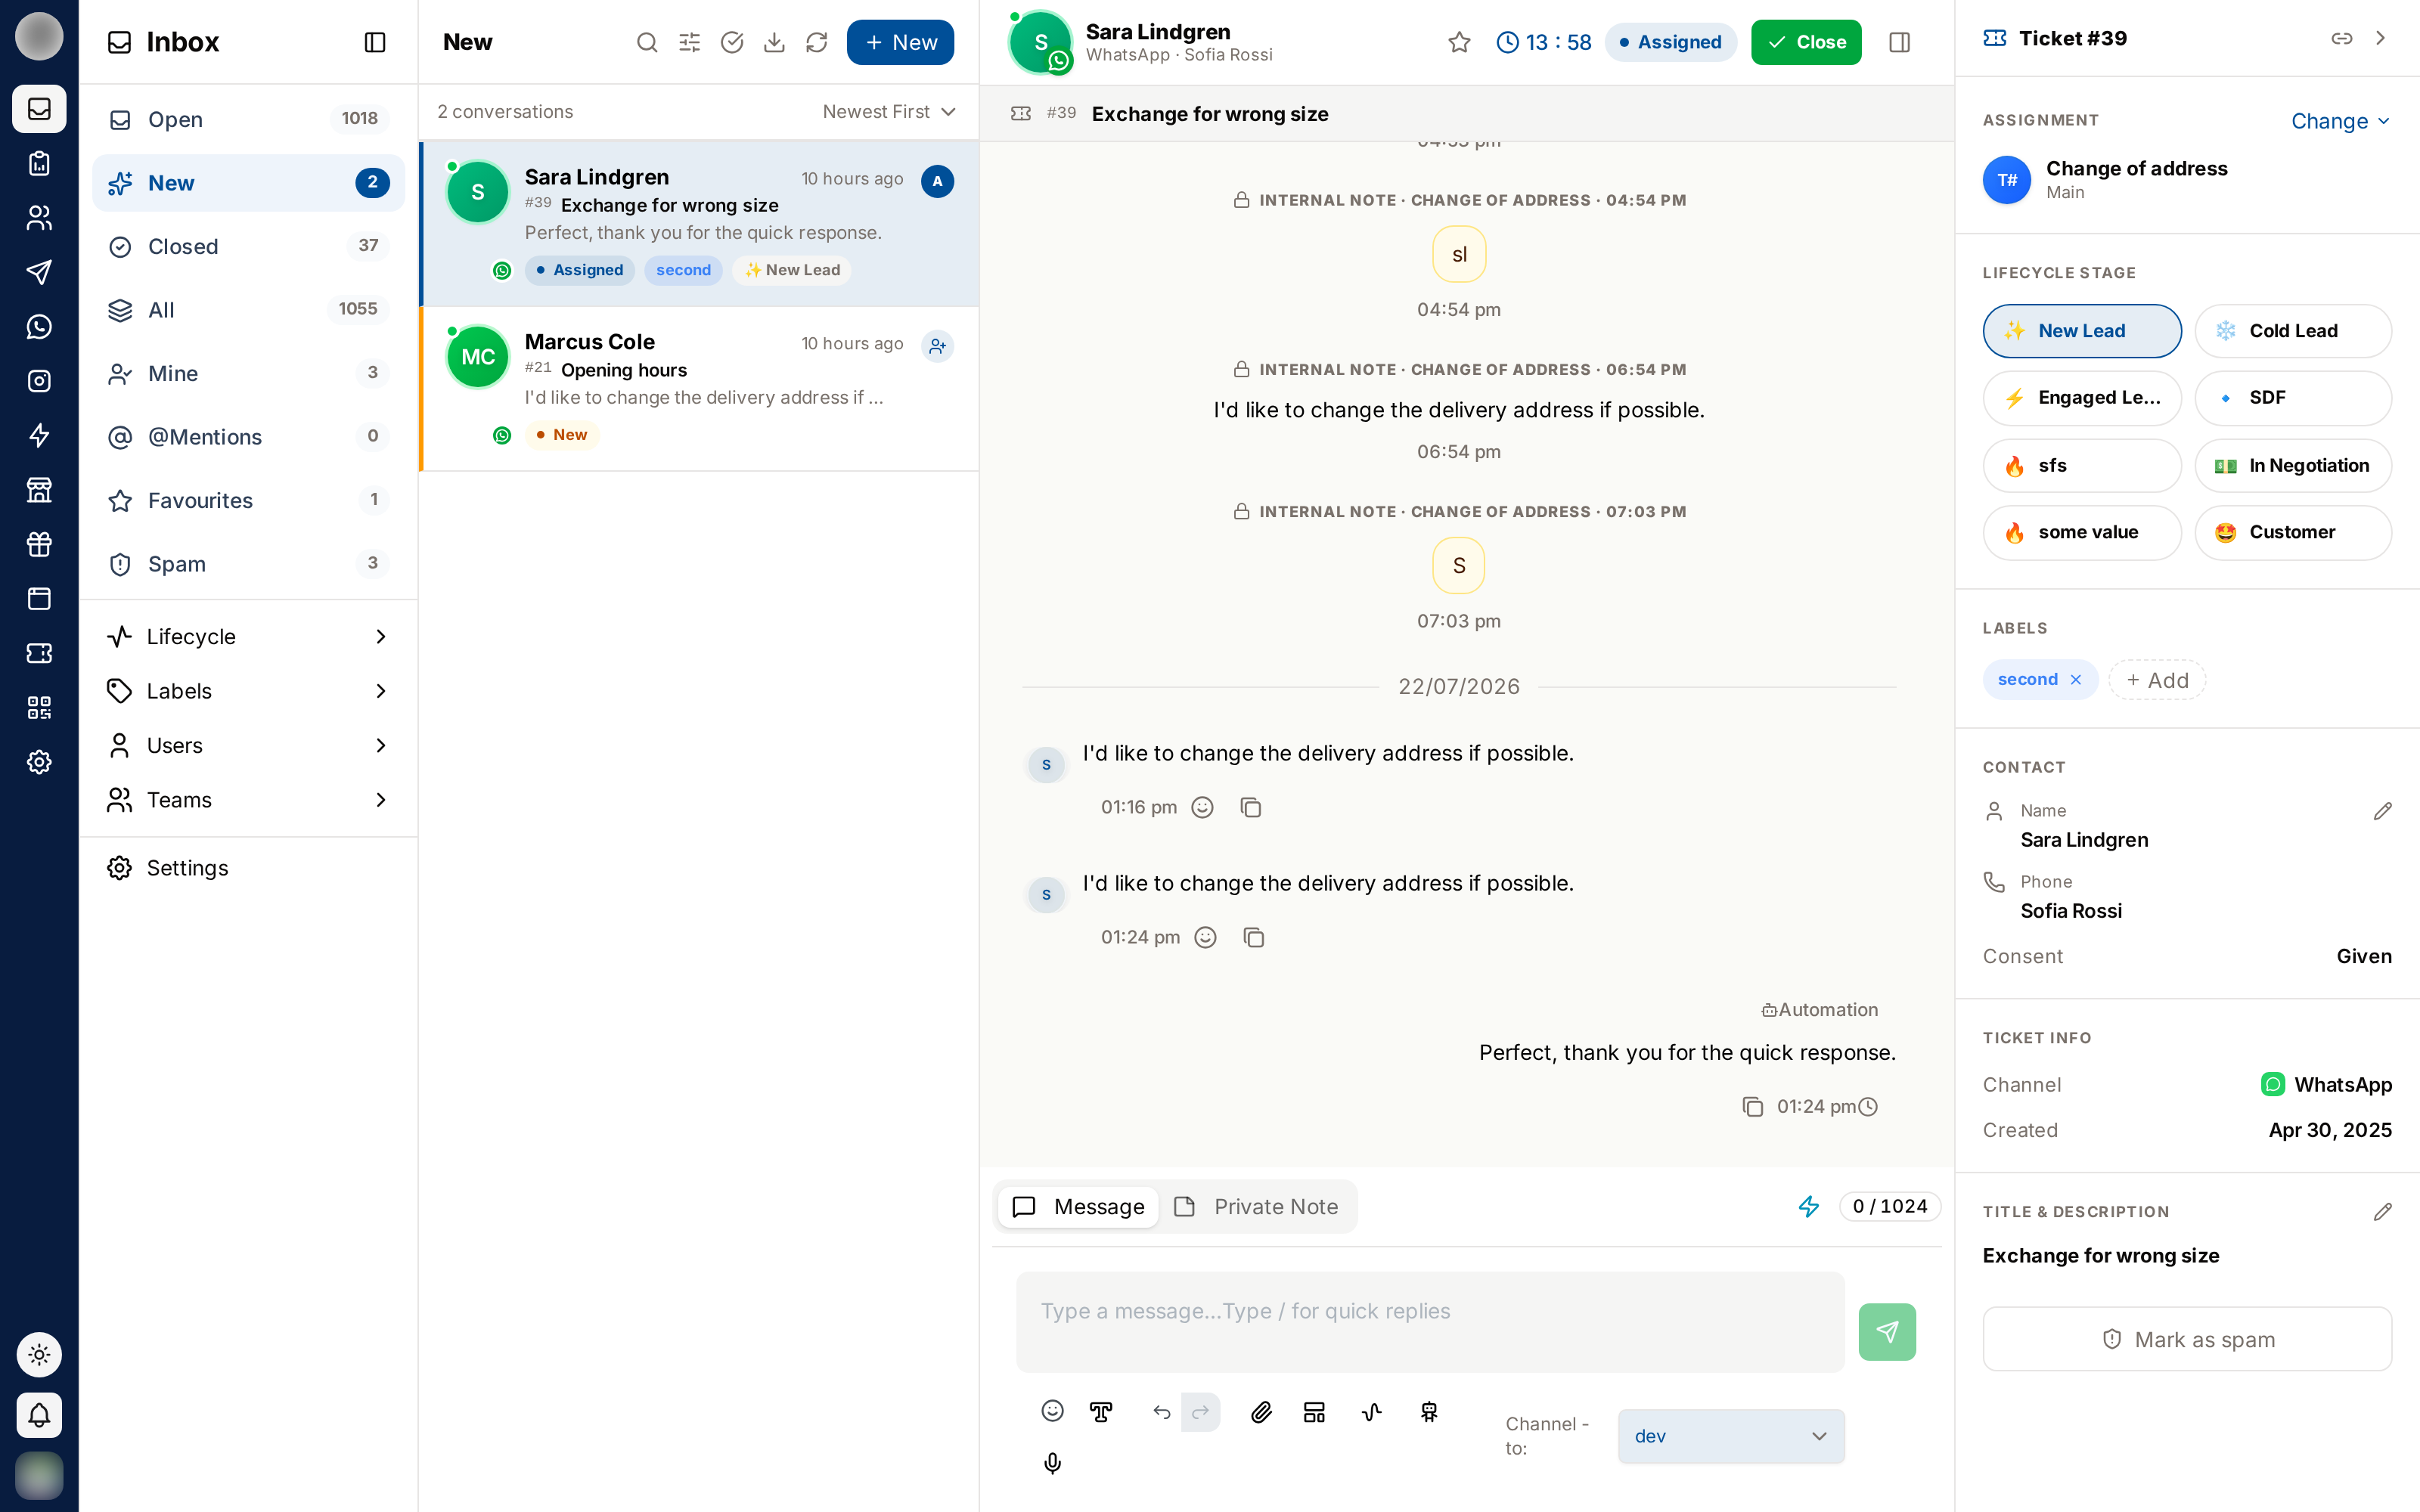
Once people are assigned, the button shows their avatars — up to three, then +N — and the first
name. Hover it for "Assigned N staff".
Assigning a Whole Team
Expand a team and click Assign entire team. Every current member of that team is ticked in one go. Click Unassign entire team to untick them all.
Assign entire team assigns each member individually, not the team as a unit. Every one of them sees the ticket in their own Mine view. Someone who joins the team later is not added to tickets assigned before they joined.
A team row shows a ✓ when every member is ticked, and a dashed circle when only some are.
One person, one team
A person in several teams is assigned under one team at a time. If you tick them under a second team, they move across. The picker shows a grey chip with the other team's name beside anyone already assigned elsewhere. Hover it for "Assigned under …".
| Assign entire team | Assign one person | |
|---|---|---|
| Who is assigned | Every current member | That person |
| Shows in Mine for | Every one of those members | That person |
| Use when | The whole team should see it and anyone may pick it up | The work needs a specific skill or owner |
You can assign several people to one ticket. The list row then shows the first assignee's avatar
with a +N badge — hover it for the full list.
Reassigning
Reassignment changes the owner of an already-assigned ticket. Reach for it when:
- An agent is going offline or on leave
- The issue needs escalating
- Another team is better placed to handle it
Leave a private note explaining where things stand. This is the handover.
@mention the new owner in that note so it reaches their @Mentions view.
Open Ticket Details → Assignment → Change and pick the new owner.
The ticket leaves your Mine view and enters theirs. A system note records the change.
Reassigning without a note is the most common reason customers have to repeat themselves. Always leave the context behind — it takes ten seconds and stays on the ticket forever.
Picking Up a Closed Ticket
Closed tickets cannot be reassigned in place — they are a finished record.
A closed ticket's composer reads "This chat has been closed by … at …. Assign it to start the conversation again.", with Assign to me and Assign beside it. Assigning from there, or clicking Reopen in the header, opens a new ticket for the same customer. Reopen carries the previous assignees across. The closed ticket keeps its number, close time and result.
Bulk Assignment
To hand several tickets to one person at once:
Click the Select Chats (✅) icon in the toolbar to enter selection mode.
Tick the tickets you want to move — or tick one, then use the select-all checkbox in the selection bar.
Click Assign selected chats. In the dialog, pick a team under Select Team and a person under Select Member, then click Assign Chats. Or click Assign To Me to take them all.
Useful at shift changes, or when redistributing an absent colleague's queue. Bulk assign is not offered in Mine or Spam.
Bulk assign replaces the existing assignees. Each ticket ends up with only the person you picked, so anyone who was on it before is taken off.
Permissions
Assignment is not gated by role. Anyone who can open the Inbox can assign any ticket they can see, to anyone — the limit is visibility, not permission:
| Role | Can assign |
|---|---|
| Super Admin | Any ticket, to anyone — no channel scoping applies |
| Admin | Any ticket on the channels their teams grant |
| Staff | The same channel scope, minus any assigned tickets their organisation hides from them |
Best Practices
- Assign as soon as a ticket arrives — an unowned ticket is nobody's problem
- Route to a team when you are unsure who should take it
- Reassign when availability changes, rather than letting a queue stall
- Avoid ping-ponging tickets between agents; it fragments the history
- Close tickets once resolved, so ownership lists stay honest
Related Pages
- New — the unowned queue
- Private Notes & @Mentions — writing a handover
- Closing & Reopening