Contacts List
The Contacts List displays all contacts in a structured, easy-to-scan format. Each row represents a single contact, allowing teams to quickly view and manage customer information.
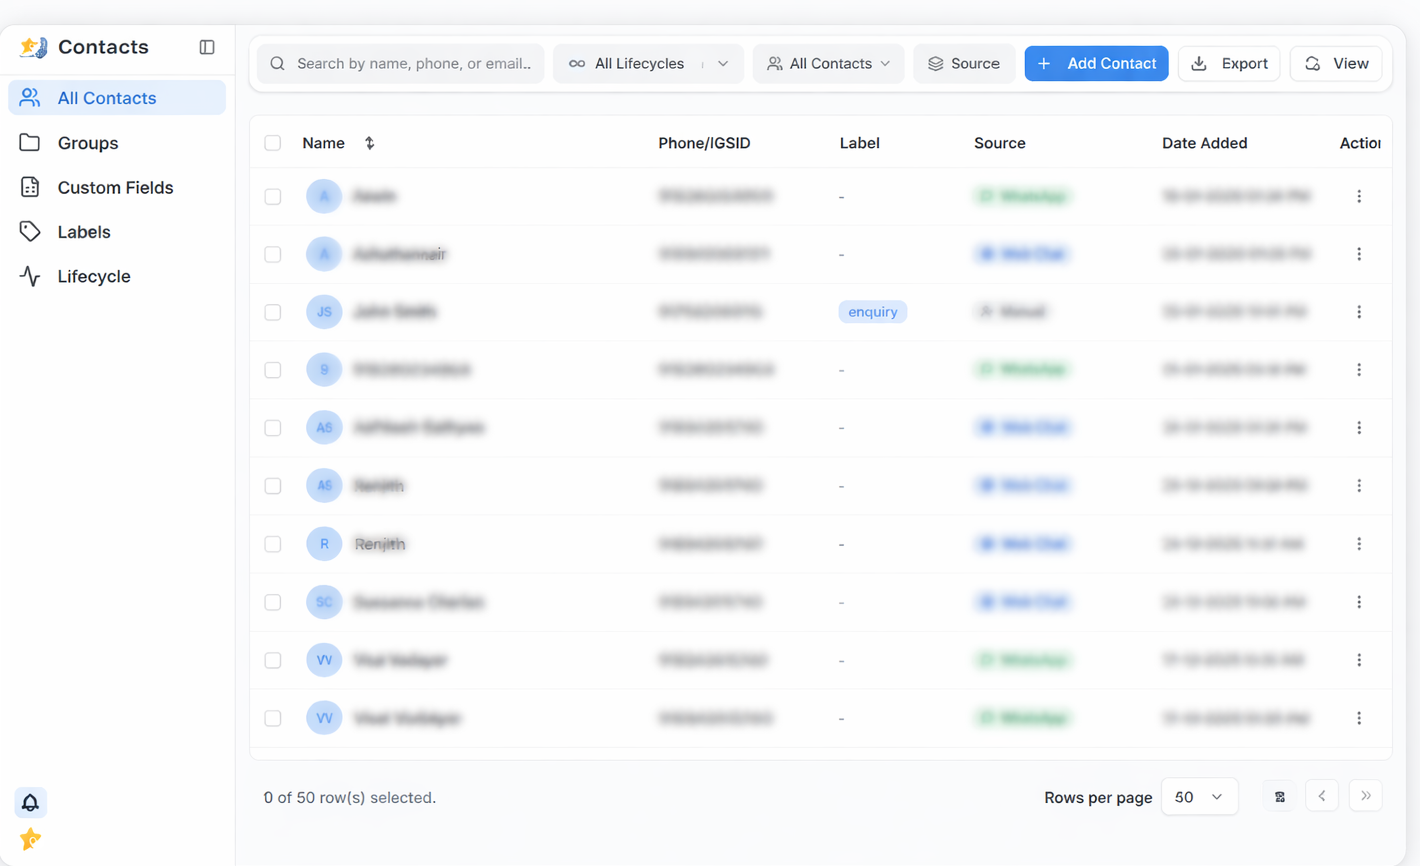
List Structure
The Contacts List is designed to show essential contact details at a glance while providing quick access to individual actions.
Name
- Displays the contact’s name if available.
- If a name is not provided, an identifier such as the phone number may be shown.
- A profile icon with initials appears next to the name for easy recognition.
Phone / IGSID
- Shows the contact’s primary phone number or unique system identifier.
- Used to uniquely identify contacts across conversations and channels.
Label
- Displays labels assigned to the contact (for example, enquiry).
- Labels help categorize contacts for filtering, prioritization, and follow-ups.
- Contacts without labels are shown with a placeholder.
Source
Indicates how the contact was created:
- WhatsApp – Contact initiated through WhatsApp
- Web Chat – Contact created via website chat
- Manual – Contact added manually by a team member
Date Added
- Shows the date and time when the contact was added.
- Useful for identifying recent and older contacts.
Selecting Contacts
To select one or more contacts:
- Use the checkbox on the left side of each contact row.
- Select multiple checkboxes to choose multiple contacts.
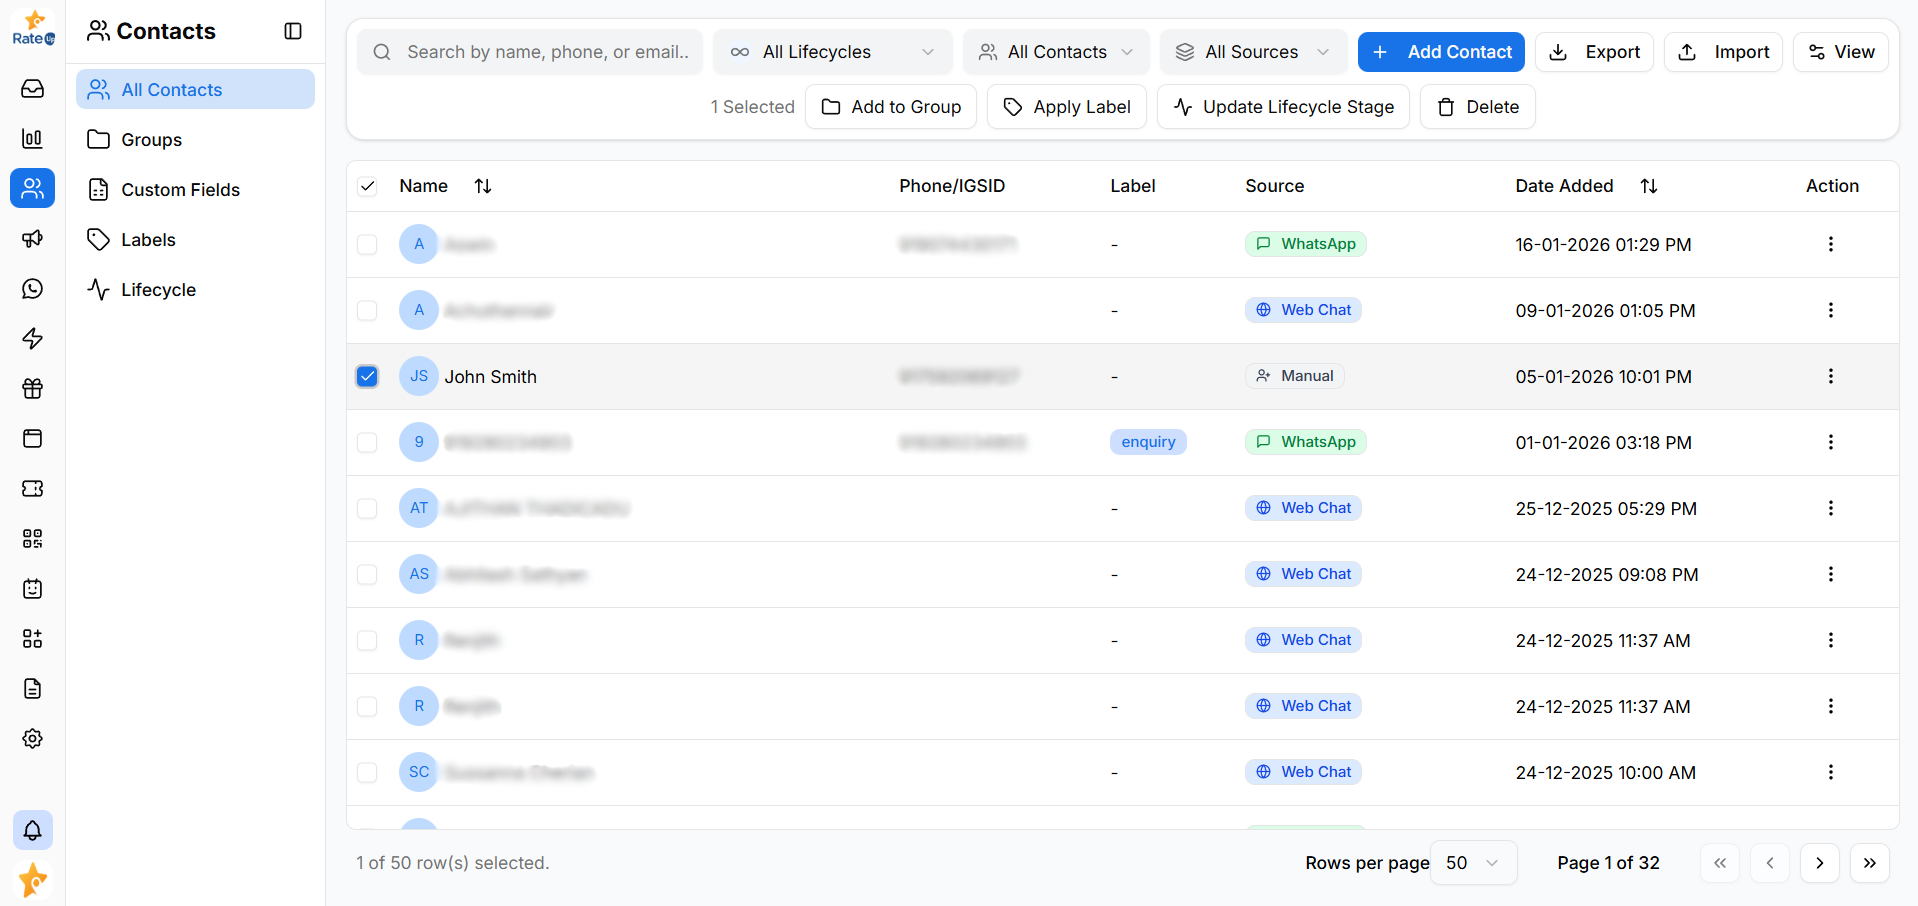
Selecting contacts enables Bulk Actions.
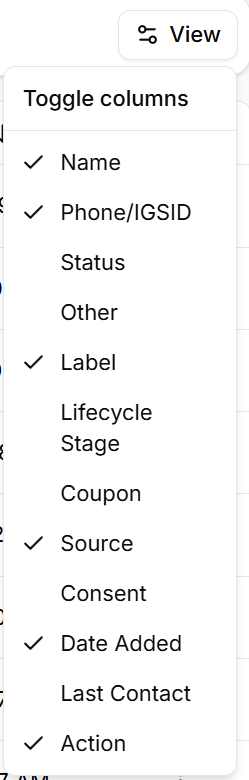
View Settings
To control which columns are visible in the Contacts List:
- Click View Settings on the Contacts List screen.
- The column toggle menu opens.
Using View Settings, you can:
- Show or hide specific columns
- Focus only on relevant contact information
- Reduce visual clutter in large contact lists
Available Columns
You can toggle visibility for columns such as:
- Name
- Phone / IGSID
- Status
- Label
- Lifecycle Stage
- Source
- Consent
- Date Added
- Last Contact
- Action
Changes are applied instantly and affect only your current view.
Action Menu
Each contact row includes a three-dot Action Menu (⋮) for individual actions.
To perform actions on an individual contact:
- Locate the contact row.
- Click the three-dot Action Menu (⋮) at the end of the row.
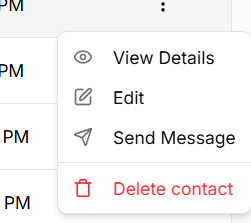
Available actions include:
- View Details – Open the full contact profile
- Edit – Update contact information
- Send Message – Start a conversation with the contact
- Delete Contact – Permanently remove the contact
Learn more about the contact profile in Contact Details.
Available actions may vary based on user permissions.
Sorting Behavior
- Columns such as Name and Date Added can be sorted.
- Sorting helps quickly organize contacts alphabetically or by recency.
Why the Contacts List Matters
The Contacts List ensures that:
- Contact data is easy to scan and understand
- Individual contact actions are easily accessible
- Large contact lists remain organized and manageable